Step-by-Step Guide: How to Epoxy a Floor Like a Pro
Service: Concrete Sealing, Epoxy Floor, Resin Flooring
Step-by-Step Guide: How to Epoxy a Floor Like a Pro
Epoxy flooring is a popular choice for its durability, aesthetics, and easy maintenance. Whether you want to transform your garage, basement, or any other space, the epoxy coating can elevate the look and functionality of your floors. While hiring professionals is an option, epoxy flooring is also a project you can tackle on your own with the right knowledge and preparation. In this comprehensive guide, we will provide you with a step-by-step process to help you achieve professional results when epoxying your floors. From surface preparation to mixing and applying the epoxy, we will cover everything you need to know. So, put on your DIY hat and get ready to create a stunning and durable epoxy floor that will impress everyone who walks through your door.
Getting Started
Assessing the Suitability of Your Floor
Before you dive into the epoxy flooring project, it’s important to assess the suitability of your floor. Consider factors such as the condition of the surface, the type of material, and any existing coatings or sealants. Epoxy flooring is generally suitable for concrete, cement, or other non-porous surfaces. Ensure that the floor is in good condition, free from cracks, and properly cured. If necessary, perform any required repairs or surface preparations before proceeding with the epoxy application.

Gathering the Necessary Materials and Tools
To epoxy a floor, you’ll need the following materials and tools:
- Epoxy Coating Kit: Purchase a high-quality epoxy coating kit that includes both epoxy resin and hardener. Choose a kit that suits the size of your floor and the desired finish.
- Surface Preparation Tools: You’ll need tools like a broom, vacuum cleaner, mop, degreaser, and possibly a floor grinder or etching solution to prepare the surface.
- Safety Equipment: Prioritize safety by wearing protective gear such as gloves, safety goggles, and a respirator mask to protect yourself from chemicals and fumes.
- Painting Supplies: Gather materials like rollers, brushes, paint trays, extension poles, and painters’ tape for applying the epoxy coating.
Preparing the Floor
Clearing and Cleaning the Space
Begin by clearing the room of any furniture, rugs, or obstacles. Remove all debris, dust, and dirt by sweeping the floor thoroughly. Follow up with a vacuum cleaner to ensure a clean surface. Use a mop and mild detergent to remove any stains or grime. For grease or oil stains, use a degreaser and scrub the affected areas with a brush. Rinse the floor with clean water and allow it to dry completely before moving on to the next step.
Repairing and Patching
Inspect the floor for any cracks, chips, or holes. Repair these imperfections using appropriate methods and materials. Fill small cracks with epoxy crack fillers or concrete patching compounds, following the manufacturer’s instructions. For larger cracks or damaged areas, consider using a concrete resurfacer or contacting a professional for assistance. Allow the repairs to cure completely before proceeding.
Surface Etching or Grinding
If your floor is smooth or previously sealed, it may require surface etching or grinding to create a rough texture for better epoxy adhesion. This step is crucial to ensure a long-lasting and durable bond between the epoxy and the floor. You can either use an acid etching solution or rent a floor grinder to achieve the desired surface texture. Follow the instructions carefully and take necessary safety precautions when working with chemicals or machinery.
Applying the Epoxy Coating
Priming the Floor
Before applying the epoxy coating, it’s essential to apply a primer to promote proper adhesion. Mix the primer according to the manufacturer’s instructions, and using a brush or roller, apply it evenly across the entire floor. Ensure that the primer covers the surface thoroughly, including the patched and repaired areas. Allow the primer to dry completely before moving on to the next step.
Mixing the Epoxy
Properly mix the epoxy resin and hardener according to the instructions provided with the epoxy coating kit. Use a clean bucket and a stir stick to combine the two components. Stir slowly and thoroughly, making sure there are no streaks or unmixed portions. Be mindful of the pot life, which is the time available for application before the epoxy starts to harden. Avoid mixing more epoxy than you can comfortably apply within the pot life.
Applying the Epoxy Coating
Working in small sections, pour the mixed epoxy onto the floor and use a roller or squeegee to spread it evenly. Start from a corner and work your way toward the exit to avoid getting trapped in the coated area. Use a brush or roller to cut in the edges and corners. Pay attention to achieving a consistent thickness and avoiding pooling or drips. If desired, add decorative elements like colored flakes or metallic pigments according to the design you have in mind. Continue applying the epoxy coating until the entire floor is covered.
Allowing the Epoxy to Cure
After applying the epoxy coating, allow it to cure as per the manufacturer’s instructions. This typically involves keeping the space well-ventilated and at the recommended temperature and humidity levels. Avoid walking on the coated surface until it has fully cured to prevent any damage or imperfections.
Maintenance and Care
Regular Cleaning
To maintain the beauty and longevity of your epoxy floor, implement regular cleaning practices. Sweep or vacuum the floor regularly to remove dirt, dust, and debris. Use a mop with a mild detergent or an epoxy-specific cleaner to wipe away stains and spills. Avoid using harsh chemicals or abrasive cleaners, as they can damage the epoxy coating.
Preventive Measures
Take preventive measures to protect your epoxy floor from potential damage. Place mats or rugs near entryways to trap dirt and moisture before they reach the floor. Use furniture pads or felt protectors under heavy objects to prevent scratches. Avoid dragging sharp or heavy items across the floor to prevent any surface damage. Additionally, consider reapplying with a clear topcoat or sealer every few years to enhance the floor’s durability and shine.

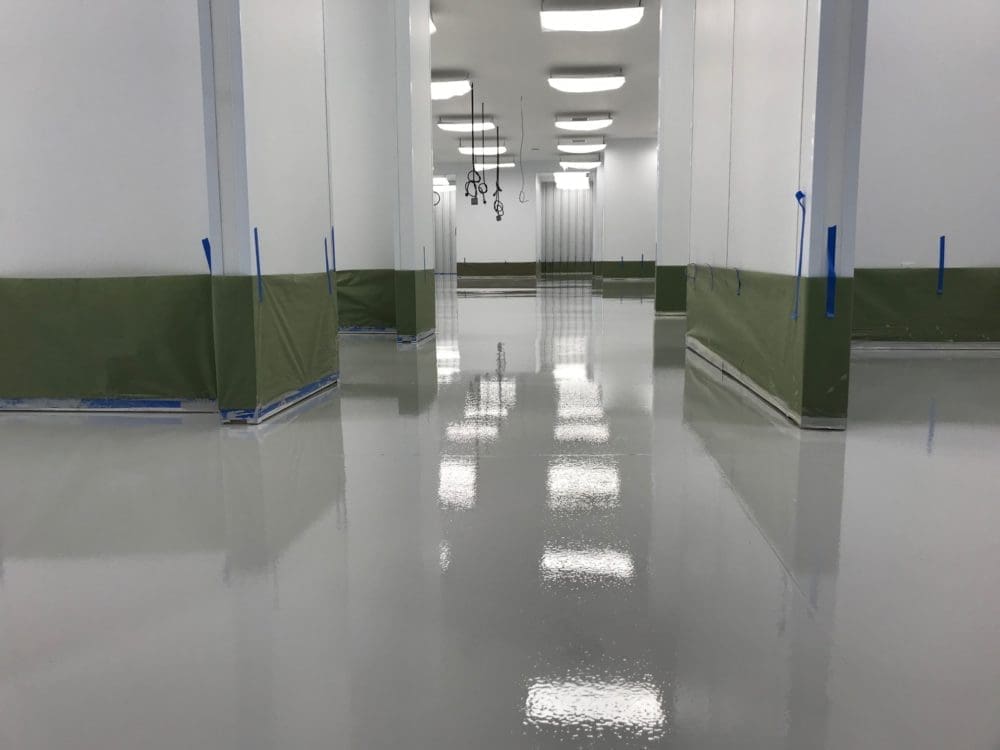
applying epoxy on concrete
Conclusion
Epoxy flooring is a fantastic option to upgrade the look and functionality of your floors. By following this step-by-step guide, you can confidently tackle your own epoxy flooring project and achieve professional-quality results. Remember to assess the suitability of your floor, gather the necessary materials, and thoroughly prepare the surface before applying the epoxy coating. Take your time to mix and apply the epoxy properly, and allow it to cure fully before enjoying your beautiful and durable new floor. With regular maintenance and care, your epoxy floor will continue to impress and provide a stunning and functional space for years to come. So, roll up your sleeves, get creative, and embark on the journey to transform your floors with epoxy coating. Call AllStar Concrete Coatings for your next decorative concrete project!
Free Consultation
Ready to learn more about how AllStar can help you? Take advantage of our free consultation to get the ball rolling.
Get Started